How to size a rainwater storage system
Sizing a rainwater storage system is four decisions taken in order. The duty comes first, because it decides the wrap and the wrap changes what the tank does. Then the volume, taken from the catchment and the design storm rather than from the hole available. Then the depth, which fixes how many modules stack. Then the load from whatever the surface above will carry. Take them out of order and the tank gets sized around the excavation instead of the job.
For the range this guide belongs to, see Rainwater storage systems, built underground.
What decides the choice
- The duty, before anything else
- Attenuation holds water back and releases it. Harvesting keeps it. Infiltration lets it go into the ground. All three use the same modules, and the wrap is what separates them.
- The volume the job actually needs
- The target comes from the area draining to the tank and the storm the site is designed against. It is not the size of the excavation, and the excavation should not be allowed to set it.
- The depth available
- Depth is the lever on plan area. The excavation sets how many modules stack, and a tank one module deeper generally needs noticeably less ground.
- The load the surface will put on it
- Once buried, the ground above goes back to use. Guidance generally allows trafficked ground where the structural performance has been shown to be adequate, so the loading has to be stated.
- Where the treatment happens
- A geocellular system generally provides no water quality treatment of its own. If the site needs it, it has to be a stage ahead of the tank, sized and reachable.
What the wrap decides
| Duty | Wrap and connections | What happens to the water |
|---|---|---|
| Attenuation | Waterproof wrap, flow control at the outlet | Held back, then released at the permitted rate |
| Harvesting | Waterproof wrap, pump position designed in | Kept and drawn off for reuse |
| Infiltration | Geotextile wrap, no outlet | Released into the surrounding ground |
-
Attenuation
- Wrap and connections
- Waterproof wrap, flow control at the outlet
- What happens to the water
- Held back, then released at the permitted rate
-
Harvesting
- Wrap and connections
- Waterproof wrap, pump position designed in
- What happens to the water
- Kept and drawn off for reuse
-
Infiltration
- Wrap and connections
- Geotextile wrap, no outlet
- What happens to the water
- Released into the surrounding ground
What a geocellular system is good at, and what it is not
| Aspect | How guidance rates it | What that means on site |
|---|---|---|
| Peak flow reduction | Good | This is the job the tank is usually bought for |
| High flow events | Generally capable | The system can take the storm it was sized for |
| Volume reduction | Poor when it only stores; good with infiltration | If volume has to drop, infiltration has to come from somewhere |
| Water quality treatment | None of its own | Treatment has to be a separate stage ahead of the tank |
| Monitoring and maintenance | Generally difficult once buried | The access built at installation decides the outcome |
-
Peak flow reduction
- How guidance rates it
- Good
- What that means on site
- This is the job the tank is usually bought for
-
High flow events
- How guidance rates it
- Generally capable
- What that means on site
- The system can take the storm it was sized for
-
Volume reduction
- How guidance rates it
- Poor when it only stores; good with infiltration
- What that means on site
- If volume has to drop, infiltration has to come from somewhere
-
Water quality treatment
- How guidance rates it
- None of its own
- What that means on site
- Treatment has to be a separate stage ahead of the tank
-
Monitoring and maintenance
- How guidance rates it
- Generally difficult once buried
- What that means on site
- The access built at installation decides the outcome
Where it can be used
| Site type | Generally considered suitable | What to check first |
|---|---|---|
| Residential, commercial, industrial | Yes, including high-density layouts | The load the surface above will put on the modules |
| Retrofit | Yes | Whether the modular form fits the space that is actually available |
| Contaminated or vulnerable groundwater | Generally treated as suitable | The site assessment, since infiltration may be ruled out |
-
Residential, commercial, industrial
- Generally considered suitable
- Yes, including high-density layouts
- What to check first
- The load the surface above will put on the modules
-
Retrofit
- Generally considered suitable
- Yes
- What to check first
- Whether the modular form fits the space that is actually available
-
Contaminated or vulnerable groundwater
- Generally considered suitable
- Generally treated as suitable
- What to check first
- The site assessment, since infiltration may be ruled out
How to work through it
-
Settle the duty
Decide whether the tank attenuates, harvests, or infiltrates. That sets the wrap, and the wrap is ordered with the modules rather than added on site.
-
Get the permitted discharge rate
For attenuation, ask for the rate the site is allowed to discharge at. Without it there is nothing to size the tank and the outlet against.
-
Work out the volume, then the depth
Take the volume from the catchment and the design storm. Then let the available depth decide the plan area, not the other way round.
-
State the loading on the surface
Say what will be above the tank: a car park, a fire access route, planting. The modules are specified against that loading, not against a default.
-
Draw the access before you order
Inspection wells, the pump position, and any pre-treatment device have to be on the layout. A buried tank cannot be opened up to add them later.
Mistakes to avoid
-
Sizing the tank from the hole
It is tempting to size the tank by the excavation that is available. That gets the answer backwards, and the tank ends up matching the hole rather than the job.
-
Forgetting the outlet entirely
Without a flow control an attenuation tank has no release rate, so there is nothing to size it against. The tank and the outlet come out of the same calculation.
-
Assuming the tank treats the water
Grit and leaf litter settle in a tank that was never given anywhere to hold them. Clearing that out later means opening a buried structure that was not built to be opened.
-
Leaving the access to site
Marking up an inspection well on the day means marking it up after the modules are already in the ground. By then the position is fixed, not chosen.
Sizing one of these is not difficult. It is easy to do in the wrong order, and that is where most of the trouble comes from.
The volume is not the excavation
It is natural to size a tank by the hole that is available, especially on a tight site. That gets the answer backwards. The volume comes from the catchment and the design storm. The excavation is then made to fit that volume.
A tank sized from the hole will be either too small to meet the condition it was bought for, or larger than it needed to be. Neither shows up until the site is built on.
The wrap is a design decision
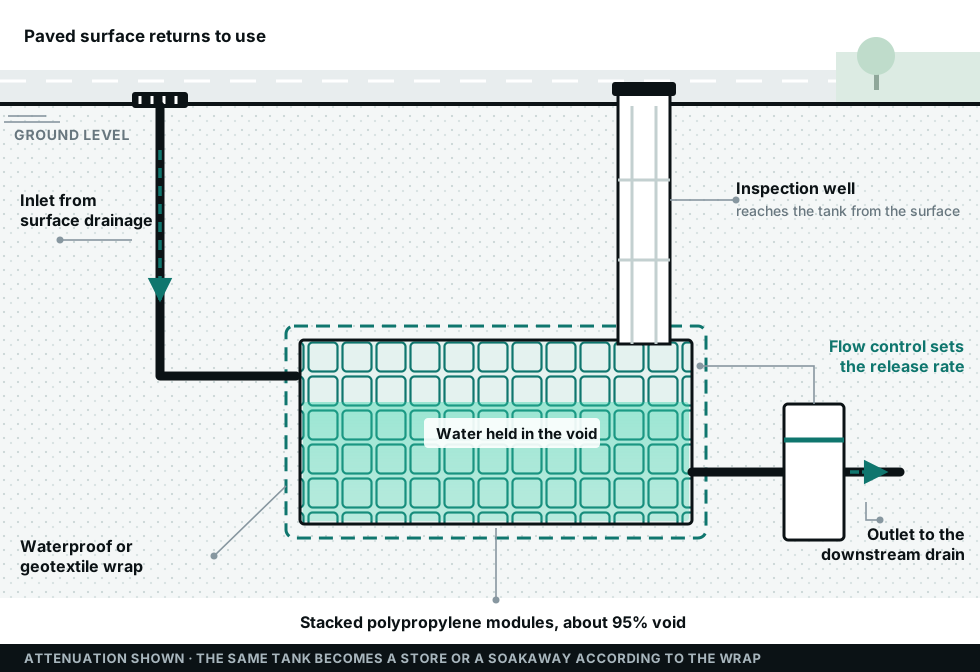
The same block becomes an attenuation tank, a harvesting tank, or a soakaway depending on what it is wrapped in and how it is connected. That makes the wrap part of the specification, and it means the duty has to be settled before anything is ordered.
The parts that cannot be added later
Inlet and outlet levels, the pump position, the inspection well, and any pre-treatment stage all go into the layout on paper. Once the tank is covered and the surface is back in use, the only access is the access that was built.
This is the part of the design that decides whether the system still performs in ten years. It is also the part that is easiest to leave to site, which is why it is worth writing down.
Where to go next
Sources
General industry background on this page draws on the sources below. Product data comes from the manufacturer's product literature.
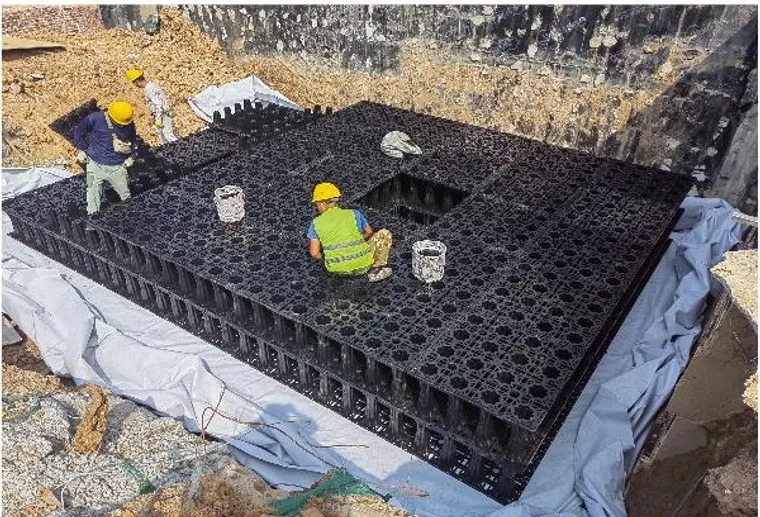
Tank assembled on site
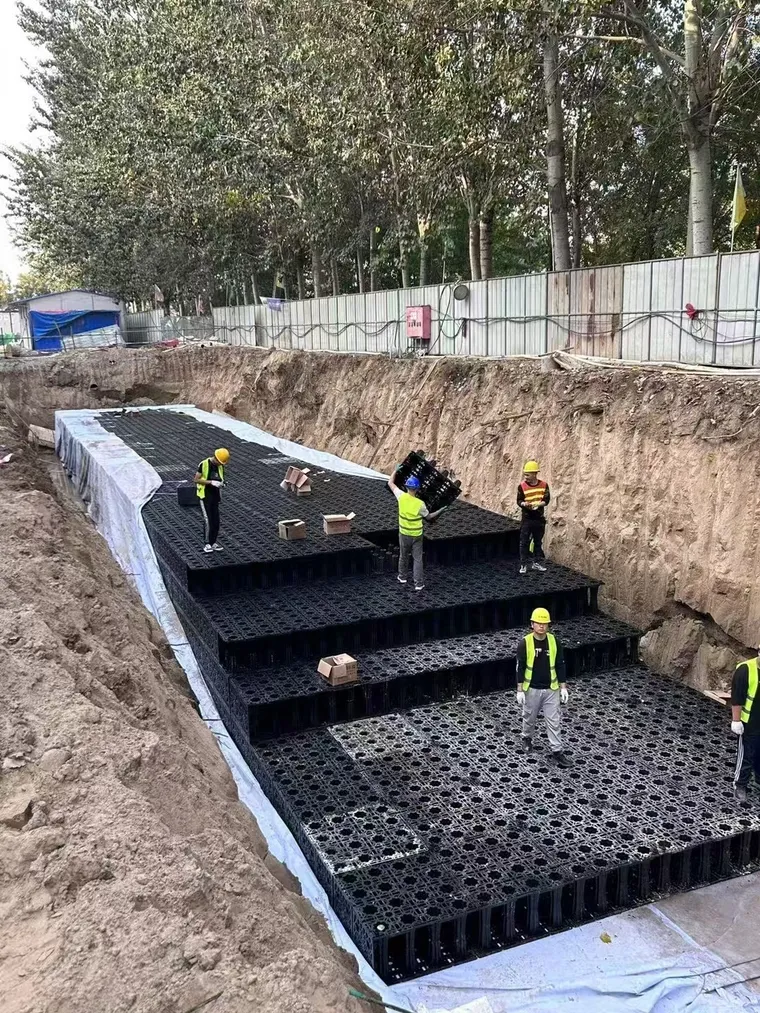
Modules assembled in the excavation